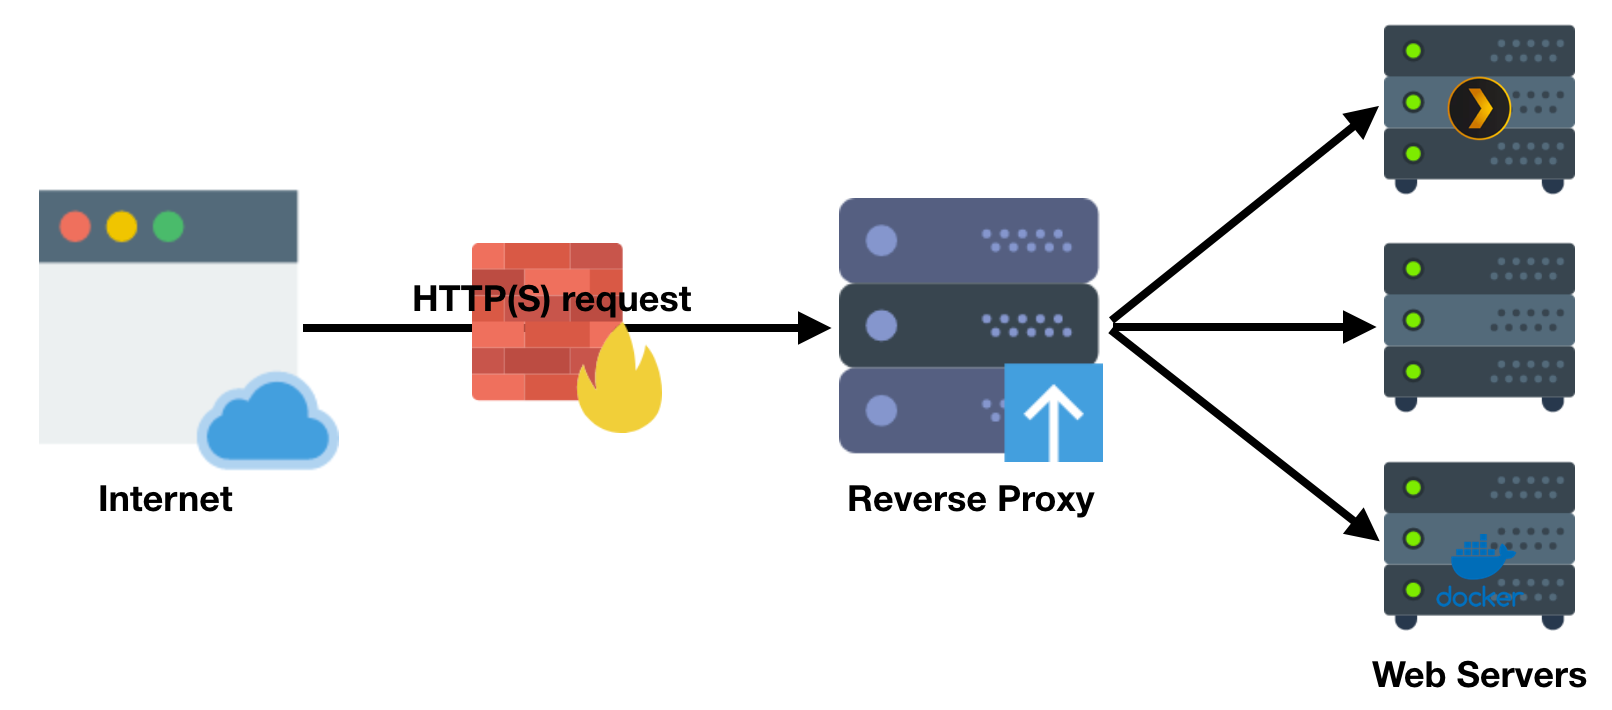
In today's interconnected world, having a secure website is no longer optional—it's essential. SSL certificates encrypt the data between a user's browser and your server, providing security and building trust. However, setting up SSL on IPv6-only VPS servers can be challenging, especially when you need to use DNS validation methods.
This guide will walk you through the process of setting up Nginx with Let's Encrypt SSL certificates on an IPv6-only VPS, using Cloudflare for DNS validation. This approach is particularly useful when traditional HTTP validation isn't possible due to IPv6-only constraints.
Why This Approach?
IPv6-only servers are becoming more common as IPv4 addresses become scarce. However, many validation methods still depend on IPv4 connectivity. By using Cloudflare's DNS API for validation, we can bypass this limitation and still obtain valid SSL certificates.
Prerequisites
Before we begin, make sure you have:
- A VPS server with IPv6 connectivity
- A domain registered and managed through Cloudflare
- Nginx installed on your server
- Certbot installed on your server
- Basic knowledge of terminal commands
Now, let's dive into the step-by-step process:
1. Obtain Your Cloudflare Global API Key
First, we need to get the API credentials from Cloudflare that will allow our server to verify domain ownership:
- Login to your Cloudflare account
- Navigate to Profile > API Tokens
- Look for the Global API Key section and click View
- Copy your Global API Key for later use
This key will allow Certbot to automatically create the DNS records needed for validation.
2. Store Your Cloudflare Credentials Securely
Now we'll create a configuration file to store your Cloudflare credentials securely on the server:
bashsudo nano /etc/letsencrypt/cloudflare-api.cfg
Add the following content, replacing the placeholders with your actual information:
bashdns_cloudflare_email = <Email> dns_cloudflare_api_key = <Global_API_Key>
Make sure to set appropriate permissions to keep this file secure:
bashsudo chmod 600 /etc/letsencrypt/cloudflare-api.cfg
This ensures only the root user can read this sensitive file.
3. Configure Nginx for HTTP (Initial Setup)
Before obtaining our SSL certificate, we need to set up a basic Nginx configuration for our domain:
bashsudo nano /etc/nginx/sites-available/<DOMAIN>
Add this basic HTTP configuration:
bashserver { listen 80; server_name <DOMAIN>; location / { proxy_pass http://localhost:<PORT>; proxy_set_header Host $host; proxy_set_header X-Real-IP $remote_addr; proxy_set_header X-Forwarded-For $proxy_add_x_forwarded_for; proxy_set_header X-Forwarded-Proto $scheme; } }
Replace <DOMAIN> with your actual domain name and <PORT> with the port where your application is running (e.g., 3000 for a Node.js app).
4. Enable Your Nginx Configuration
Create a symbolic link to enable the site configuration:
bashsudo ln -s /etc/nginx/sites-available/<DOMAIN> /etc/nginx/sites-enabled/
This is the standard way to enable site configurations in Nginx without duplicating files.
5. Verify and Apply Your Nginx Configuration
Check for syntax errors and reload Nginx to apply the changes:
bashsudo nginx -t sudo systemctl reload nginx
The first command tests your configuration for syntax errors. The second command applies the changes without disconnecting existing clients.
6. Obtain an SSL Certificate Using DNS Validation
Now we'll use Certbot with the Cloudflare DNS plugin to obtain an SSL certificate:
bashsudo certbot certonly --dns-cloudflare --dns-cloudflare-credentials /etc/letsencrypt/cloudflare-api.cfg -d <DOMAIN> --agree-tos --non-interactive --preferred-challenges dns-01 --dns-cloudflare-propagation-seconds 60
This command:
- Uses the DNS challenge type, which works even on IPv6-only servers
- Uses your Cloudflare credentials to automatically create and delete the required DNS records
- Waits 60 seconds for DNS propagation to ensure validation succeeds
- Automatically accepts the terms of service
If successful, your certificates will be stored in /etc/letsencrypt/live/<DOMAIN>/.
7. Update Nginx Configuration for HTTPS
Now let's update our Nginx configuration to use SSL and redirect HTTP to HTTPS:
bashsudo nano /etc/nginx/sites-available/<DOMAIN>
Replace the content with this comprehensive HTTPS configuration:
bash# Redirect HTTP to HTTPS server { listen 80; listen [::]:80; server_name <DOMAIN>; return 301 https://$host$request_uri; } # HTTPS Server server { listen 443 ssl; listen [::]:443 ssl; server_name <DOMAIN>; # SSL Let's Encrypt Certificate Configuration ssl_certificate /etc/letsencrypt/live/<DOMAIN>/fullchain.pem; ssl_certificate_key /etc/letsencrypt/live/<DOMAIN>/privkey.pem; include /etc/letsencrypt/options-ssl-nginx.conf; ssl_dhparam /etc/letsencrypt/ssl-dhparams.pem; # Proxy to local application location / { proxy_pass http://localhost:<PORT>; proxy_http_version 1.1; proxy_set_header Upgrade $http_upgrade; proxy_set_header Connection 'upgrade'; proxy_set_header Host $host; proxy_set_header X-Real-IP $remote_addr; proxy_set_header X-Forwarded-For $proxy_add_x_forwarded_for; proxy_set_header X-Forwarded-Proto https; proxy_cache_bypass $http_upgrade; } # Increase maximum upload size (adjust as needed) client_max_body_size 100M; # Logging configuration access_log /var/log/nginx/<DOMAIN>.access.log; error_log /var/log/nginx/<DOMAIN>.error.log; }
This configuration:
- Redirects all HTTP traffic to HTTPS
- Sets up the SSL certificates obtained from Let's Encrypt
- Configures proper headers for proxying to your application
- Sets a reasonable upload size limit
- Configures separate log files for easier troubleshooting
8. Final Verification and Activation
Check the configuration for errors and reload Nginx one more time:
bashsudo nginx -t sudo systemctl reload nginx
If all goes well, your site should now be accessible via HTTPS!
Automatic Renewal
Let's Encrypt certificates are valid for 90 days. Certbot typically installs a cron job or systemd timer to automatically handle renewals. You can check this with:
bashsudo systemctl list-timers | grep certbot
Troubleshooting Tips
- Certificate validation fails: Check that your Cloudflare API key is correct and that your domain's nameservers are properly set to Cloudflare
- Nginx won't start: Check your configuration for syntax errors with
nginx -t - SSL connection issues: Verify that your certificates are in the correct location and have the right permissions
Conclusion
You've successfully set up Nginx with Let's Encrypt SSL certificates on an IPv6-only VPS using Cloudflare DNS validation! This configuration provides a secure, encrypted connection for your users while working around the limitations of IPv6-only hosting.
Remember to keep your server and Nginx installation updated, and your SSL certificates will automatically renew every 90 days thanks to Certbot's automation.
References
- Let's Encrypt Documentation
- Certbot Documentation
- Nginx Official Documentation
- Cloudflare API Documentation
- IPv6 Adoption Statistics
- SSL Labs Server Test - Test your SSL configuration
- DNS Propagation Checker - Verify DNS record updates
- Mozilla SSL Configuration Generator - Generate secure SSL configurations for web servers


